Most parents set up a baby monitor the way they set up a router: plug it in, point it at the crib, hope for the best. Then the first night arrives, the nursery is pitch dark, and the parent unit shows a gray smear with a bright blob where the mattress should be. A good no WiFi baby monitor setup is not complicated, but it contains about six decisions that decide whether you can actually see your baby at 2 a.m. or whether you are squinting at a glowing rectangle trying to guess if that shape is a blanket or a foot.
I'm Mei. I'm a pediatric nurse of nine years and a mom of two under five, and I have spent more nights watching a monitor than sleeping. I have set up audio-only units, local RF video monitors, and Wi-Fi cameras that stream to a phone, and I keep coming back to the local RF ones. They do not buffer. They do not care that your router is rebooting at 3 a.m. They do not charge a monthly fee to look at your own child.
This is the order I actually do it in: place the camera, aim it, check the night vision while the lights are still on, test the range from the kitchen, then fix the two problems that show up in real houses. Both monitors I recommend here are no WiFi units, and both are ones I would hand to a nervous first-time parent.
Why you should trust me
Nine years in pediatric nursing, two kids, and a habit of running every monitor through the same overnight test. Does the night vision hold up in a genuinely dark room, not a dim one. Does the parent unit survive until morning on a single charge. Does the signal reach the kitchen through two walls and a refrigerator.
I have used cheap audio-only units that did their one job perfectly, and I have used expensive Wi-Fi cameras that dropped out during a thunderstorm while I was rocking a teething toddler. My opinions come from nights, not from spec sheets. I also read the safe sleep guidance for a living, which is why half of this article is about cords and camera placement rather than megapixels.
What a no WiFi monitor can and cannot do
A local RF monitor creates a direct radio link between the camera and the parent unit. Nothing touches the internet. Nothing gets stored in a cloud. There is no app, no account, and no subscription.
That buys you three things. It works during an internet outage. It does not buffer or lag. And nobody outside your house can log into a camera pointed at your sleeping baby.
It also costs you three things, and you should know them before you buy. You cannot check the nursery from work, because the parent unit has to be in radio range. You cannot pull up a recording from last night, because nothing is being recorded. And you have to carry the parent unit around the house instead of glancing at your phone, which is either a downside or the entire point, depending on how you feel about screens at bedtime.
If you want remote viewing and sleep data, a Wi-Fi camera is the right tool and this is the wrong article. If you want a picture that never stutters, stay here.
What you need before you start
- The monitor, with both the camera and the parent unit
- An outlet near the crib wall, or a properly rated extension cord routed behind furniture
- A shelf, wall mount, or dresser corner that a toddler cannot reach
- Cord clips or a cord cover
- A dark room and about 30 minutes
- A second person, optional but genuinely useful for the aiming step
How to set up a no WiFi baby monitor, step by step
Step one: pick the camera spot before you unpack anything. Stand where the crib will be and look around. You want a high corner with a clear diagonal view of the mattress, within reach of an outlet, and far enough from the crib that no cord can be grabbed. The AAP guidance on cords near cribs is not a suggestion.
Step two: get the cord out of the crib zone entirely. This is the step parents skip, and it is the one that matters most. Route the camera cable down behind furniture, clip it to the wall, and keep at least three feet of clear space between any cord and the crib. If you have to run a cord across an open wall, buy a cover.
Step three: aim for the whole mattress, not the whole room. A 110 degree field of view is the practical minimum for a standard nursery. Tilt the camera down so the crib fills the frame with a little floor around the edges. If you can see the ceiling fan and the door but not the far corner of the mattress, you are aimed wrong.
Step four: power on and pair the two units before you mount anything. Do the pairing on the floor, in daylight, with both units next to each other. Every pairing problem I have ever watched a parent fight happened after the camera was already screwed to a wall.
Step five: run the night vision check while the lights are still on. Turn off the lamp, close the blinds, and wait for your eyes to adjust. Then look at the parent unit. You want to see the sheet, the mattress edge, and the outline of a sleep sack. If the image is a white haze, the camera is too close to a wall and the infrared light is bouncing back at the lens. Move it.
Step six: test the range from the kitchen. Walk the parent unit to the kitchen, the laundry room, and the far end of the hallway with the picture running. Note exactly where it drops. Then reposition the camera six inches if you can, because a small move often clears a wall corner. Metal appliances, mirrors, and microwaves are the usual culprits.
Step seven: set volume and sensitivity the boring way. Turn the parent unit volume down until you can hear a real cry from the next room, not a fan. If your unit has sound-activated screen wake, set it so the screen stays off until the noise is a genuine fuss. A screen that lights up every time the cat walks past trains you to ignore it.
Step eight: put the parent unit charger where you actually sit. Not where you think you should sit. The 3 a.m. feed happens in the chair you use, and a parent unit that dies at 2 a.m. because the charger was across the room is the most common complaint I hear from other parents.
Which monitor to set up
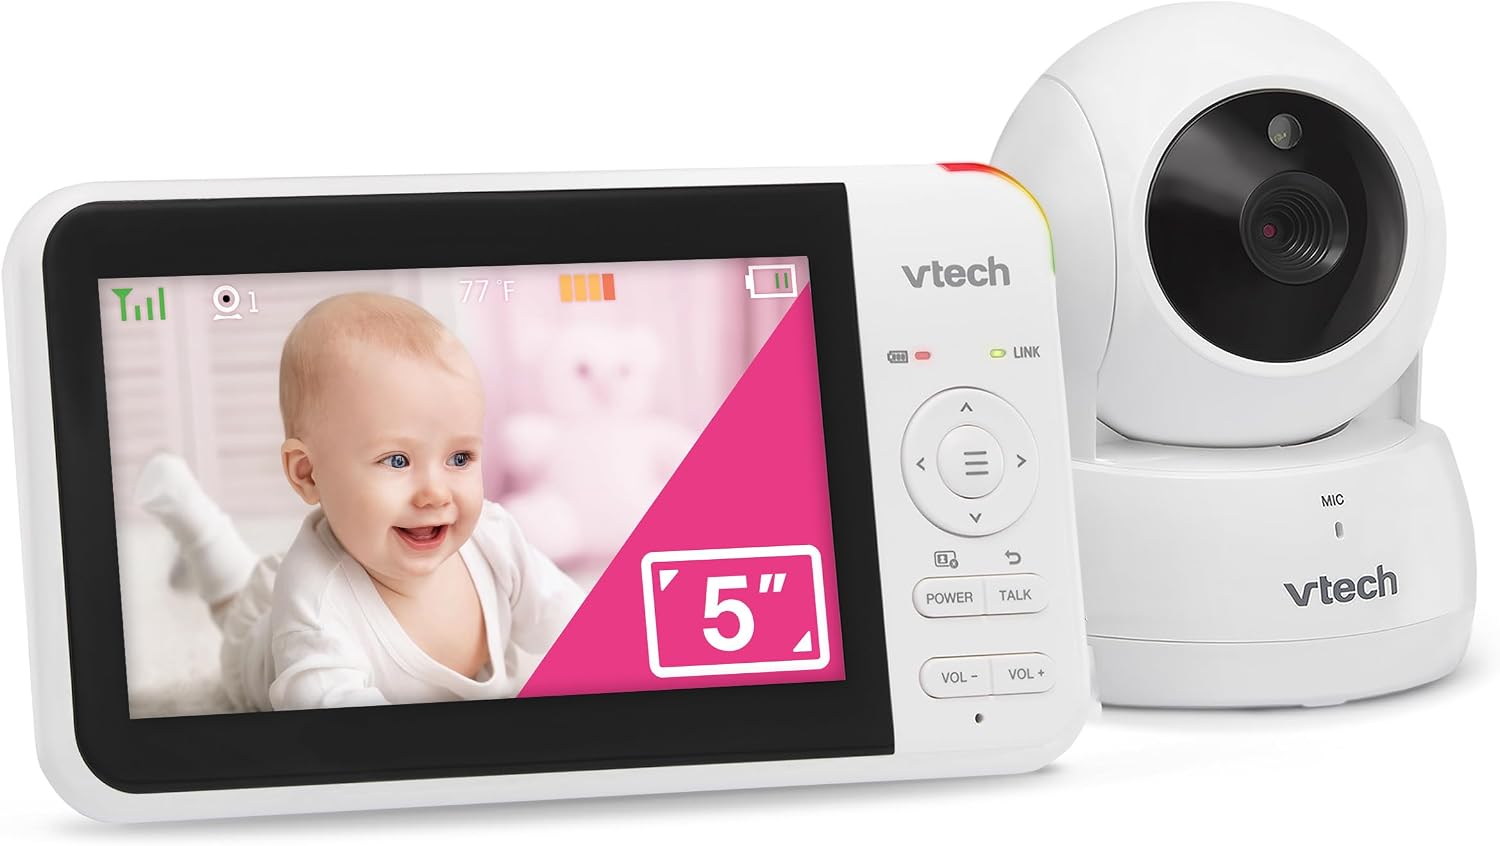
Our pick for a single nursery: VTech Video Baby Monitor No WiFi, 5" Screen & Remote Pan-Tilt-Zoom for Newborns, Hack-Proof, 17Hr Battery, 1000ft Range, Night Vision, Temperature Sensor, Two-Way Talk | VM924
 Visit on Amazon →
This is the one I set up for a single crib in a normal-sized house. Check current Amazon price.
The feature that earns its place here is the remote pan and tilt. Once the camera is on the wall, you can nudge the view from the parent unit instead of climbing on a chair with a screwdriver because your baby rolled to the far corner. For a newborn who barely moves, that sounds like a luxury. By month four, when they are doing laps of the crib at 1 a.m., it is the whole reason you bought it.
The temperature sensor is a small thing that saves you a trip. You can see the nursery number on the parent unit without walking in and risking the floorboard creak that ends a nap. The 17 hour battery figure is the one to pay attention to during setup, because it is the difference between charging every night and charging every other night depending on how much you leave the screen on.
The two-way talk is not a gimmick if you use it correctly. It is for the toddler years, when a familiar voice from the hallway can settle a kid back down without you opening the door. For a newborn, it does nothing, which is fine.
Flaws but not dealbreakers: The screen is five inches, so at arm's length in a dark room you are looking at a small picture. Sit it on a nightstand, not across the room. And the pan and tilt motor is not silent, so move the camera before you go to bed, not while your baby is asleep.
Anyone with one crib, a standard nursery, and a preference for a dedicated parent unit over a phone app will be happy here.
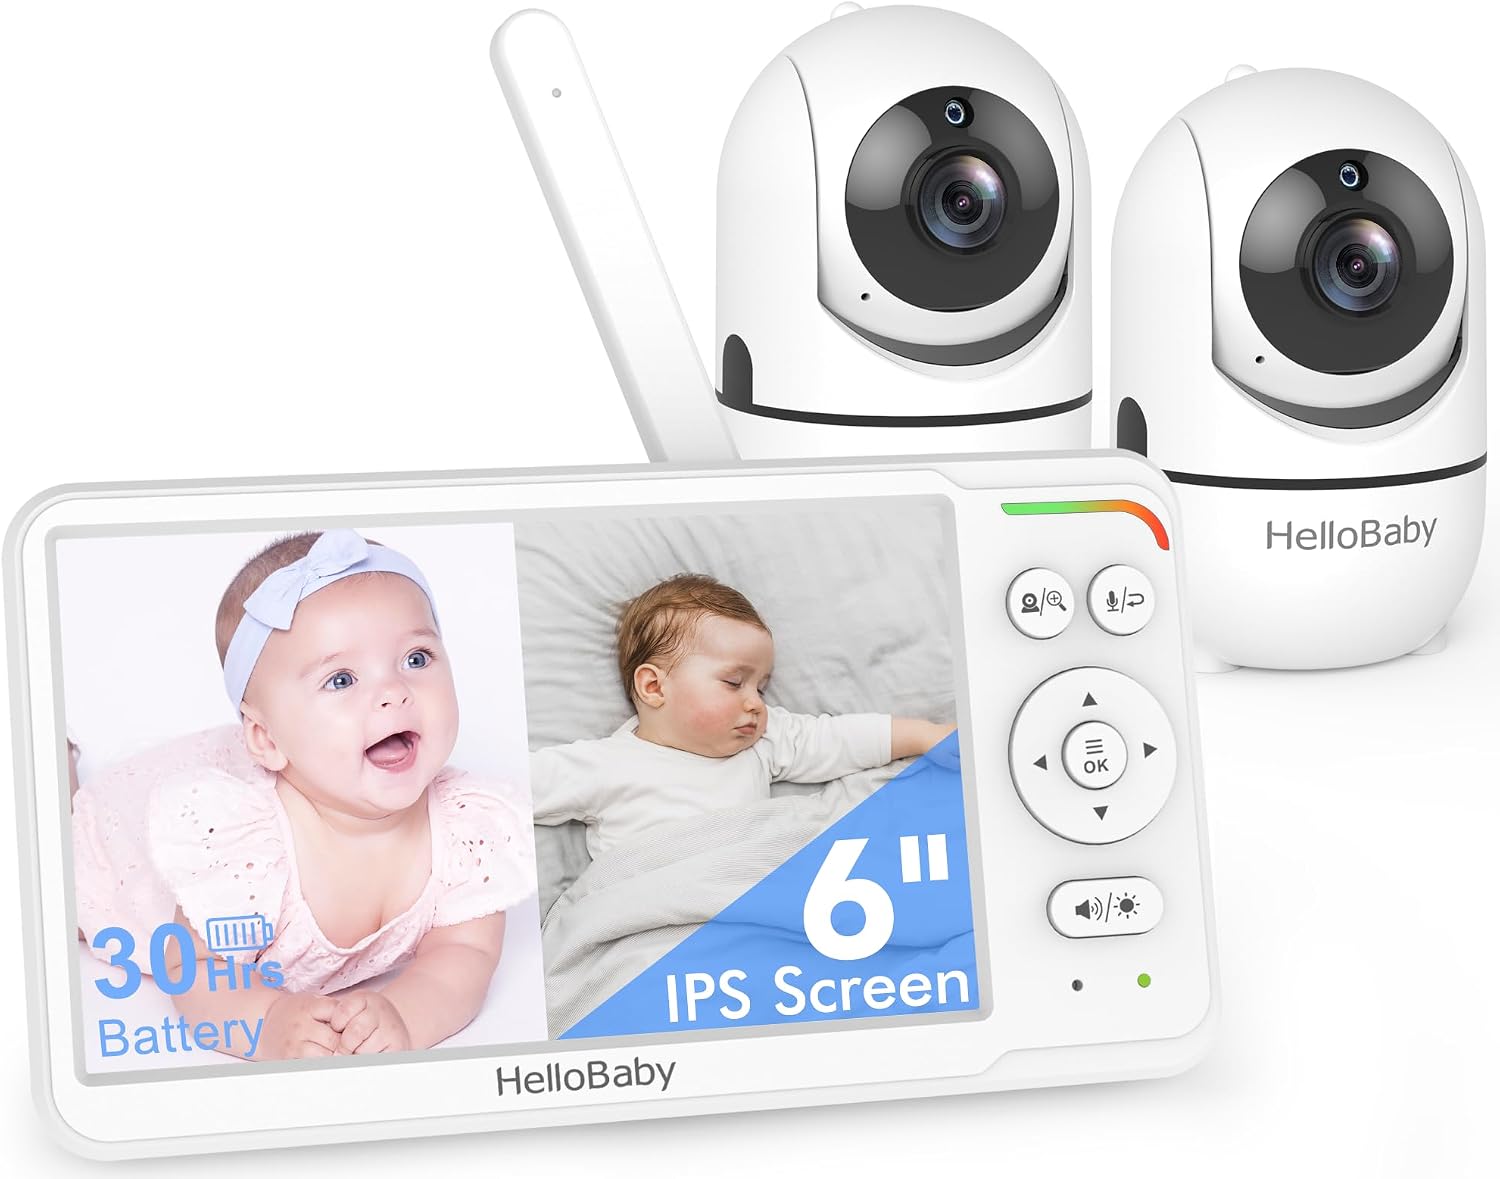
Our pick for two rooms or two kids: HelloBaby No WiFi Baby Monitor 2 Cameras, 6" Split Screen 30H Battery
 Visit on Amazon →
This is the setup for a second baby, a toddler in a big-kid bed, or a nursery plus a playroom. Check current Amazon price.
Two cameras on one parent unit means one screen instead of two devices fighting for the same nightstand. The six inch display runs split screen, so both rooms stay visible at once. If you have ever juggled two separate monitors, each with its own charger and its own volume dial, you already know why this matters.
The 30 hour battery claim is the headliner for me, because it is roughly two nights of normal use between charges. In practice that means the parent unit lives on the nightstand and only visits the charger when you remember, rather than being tethered to a wall every single evening.
The setup advice is slightly different with two cameras. Pair and test them one at a time, so you know which unit is which, then label the cameras with a piece of tape before you mount either one. Nothing wastes an hour like climbing down from a wall to discover you have mounted the toddler's camera over the newborn's crib.
Flaws but not dealbreakers: Split screen means each room gets half the display, so a single room looks smaller than it would on a full-screen unit. If you mostly watch one room and only occasionally check the other, you will notice that. Also, no pan or tilt here, so aim both cameras carefully at the mattress during setup and leave them.
Anyone with two sleep spaces to watch, or a kid who has graduated to a bed they can climb out of, should start here.
The three checks to run before the first night
Do not discover these at 2 a.m. Run them the evening before, while you are still awake enough to fix things.
The pitch-dark check. Lights off, door closed, no hallway glow. Confirm you can see the outline of a sleep sack and the edge of the mattress. If you cannot, adjust the camera angle before bedtime, not during it.
The kitchen check. Take the parent unit to the far end of your house and watch for a full minute. A signal that flickers every few seconds is worse than no signal, because you will sit there trusting it.
The overnight battery check. Leave the parent unit unplugged on the nightstand for one full night. Whatever percentage is left in the morning is your real number, and it tells you whether the charger lives on the nightstand or in a drawer.
The two problems you will actually hit
A washed-out night picture. Almost always infrared bounce. The camera is too close to a wall, a shelf, or a mirror, and the IR light is reflecting straight back into the lens. Move the camera a few inches away from the surface and re-aim. If it is still hazy, check for a nightlight or a monitor with its own glowing screen sitting in the frame.
A signal that drops in one specific spot. Interference, not a broken unit. Microwaves, baby monitors from neighbors, and metal appliances all sit in the same crowded band. Move the camera six inches, raise it a foot, or point the parent unit antenna up. If one room in the house is dead, that is normal physics and not a defect.
What this costs over time
Both of these are one-time purchases with no subscription attached, which is the quiet advantage of local RF. Compare that to a Wi-Fi camera that wants a monthly plan for recordings and insights, and the math shifts fast: the cheapest monitor is not the one with the lowest sticker price, it is the one you are not still paying for in year three.
Add a cord cover and a wall mount if you need them, and you are done spending. There is no premium tier, no cloud storage upsell, and no feature that stops working if you cancel a plan.
The bottom line
The setup is the product. A monitor with great night vision that is aimed at the ceiling is a $60 nightlight, and a modest monitor aimed correctly at the mattress will beat it every single night. Put the camera high, aim it at the crib, keep the cord out of reach, check the dark room before bedtime, and walk the parent unit to the kitchen while you still have the energy to move a camera.
Then plug in the charger where you actually sit, and go to sleep. That is the whole job, and it takes one evening.