Most parents set up a baby monitor the way they set up a router. Unbox it, plug it in, aim it at the crib, and hope for the best. Then the first real night arrives, the lights go out, and the feed turns into a gray smear with a glowing blob where your baby's face should be. Baby monitor night vision setup is the step everyone skips, and it is the only step that matters at 3 a.m.
I have spent nine years as a pediatric nurse and several of those years watching monitors in my own house at odd hours. The two units below cover the two architectures worth considering, one that runs on a local radio link and one that runs on Wi-Fi, and the routine below works for either. The order matters: placement first, mounting second, dark-room check third, and a full overnight trial before the crib ever holds a sleeping baby.
Why you should trust me
Nine years in pediatric nursing, two kids under five at home, and a monitor in every room that has held a sleeping child. I have watched parents walk into the NICU rattled because the monitor on their registry could not see their baby in a dark room, and I have watched those same parents relax once they had a unit they could actually read at 2 a.m.
My bias is simple and I will say it plainly. Night vision is the feature. Range is the second feature. Everything else on the box is packaging. A camera that films beautifully in daylight and delivers mush in the dark is a screensaver with anxiety, and you will find that out on the worst possible night.
How I picked and how I tested
This is a setup guide, not a leaderboard, so I kept the hardware list to two monitors that cover the two real architectures. One is a local RF unit with its own dedicated screen. The other is a Wi-Fi unit with an app and a wall mount in the box.
The criteria I use are the ones that decide whether a monitor survives a real night:
- Night vision you can read in pitch dark, not at dusk with a hallway light on.
- A parent unit that lasts from bedtime to morning without a charge panic.
- Range that holds up from the kitchen, not just from the hallway.
- A field of view wide enough to cover the whole mattress, corners included.
- No subscription standing between you and a basic feature.
The routine below is the one I hand to every parent I talk to. Same room, same pitch-dark check, same walk to the far end of the house with the microwave running. A monitor that passes earns a place on the wall. A monitor that fails goes back in the box, and you find that out in an evening instead of at 3 a.m.
The two monitors worth setting up first
Two architectures, two jobs. If you want zero dependence on your router, the local RF unit is the answer. If you want your phone in the loop and a wall mount in the box, the Wi-Fi unit is the answer. Neither is wrong. They just fail in different ways, and you should pick the failure you can live with.
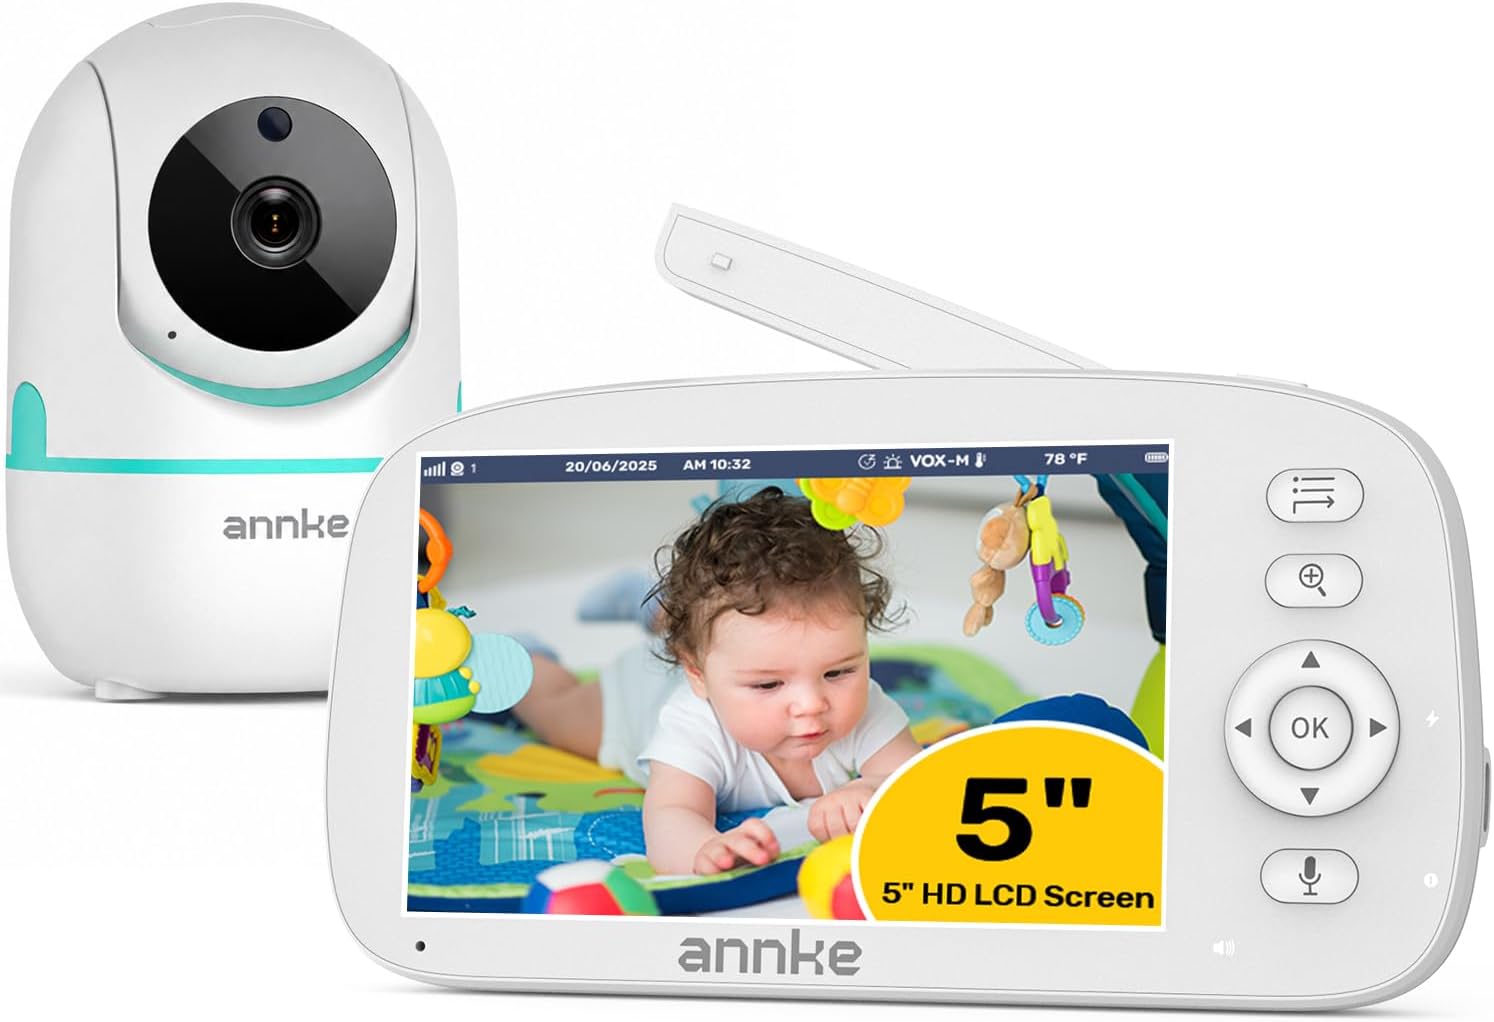
Budget pick: Video Baby Monitor with Camera and Audio, No WiFi, 5" HD Display
 Visit on Amazon →
This is the one I hand to parents who have already been burned by a router. No Wi-Fi means no buffering, no app, no firmware update landing at 2 a.m., and no cloud account holding footage of your nursery. The camera talks straight to the dedicated 5 inch HD display over a local radio link, which is the same architecture hospitals use for the monitors bolted to a wall. The screen is the product here. If the display is readable in a dark room and the link holds when you walk to the kitchen, you have everything a monitor actually needs.
What it gives up is the phone. You cannot check the crib from a restaurant, and you cannot hand a grandparent a link. For a nursery down the hall and a parent who wants one less thing on the network, that trade is usually worth it.
Flaws but not dealbreakers: Local RF units live and die by antenna placement. Do not tuck this behind a dresser or inside a closet. Give it air and a clear line toward the room you will be sitting in.
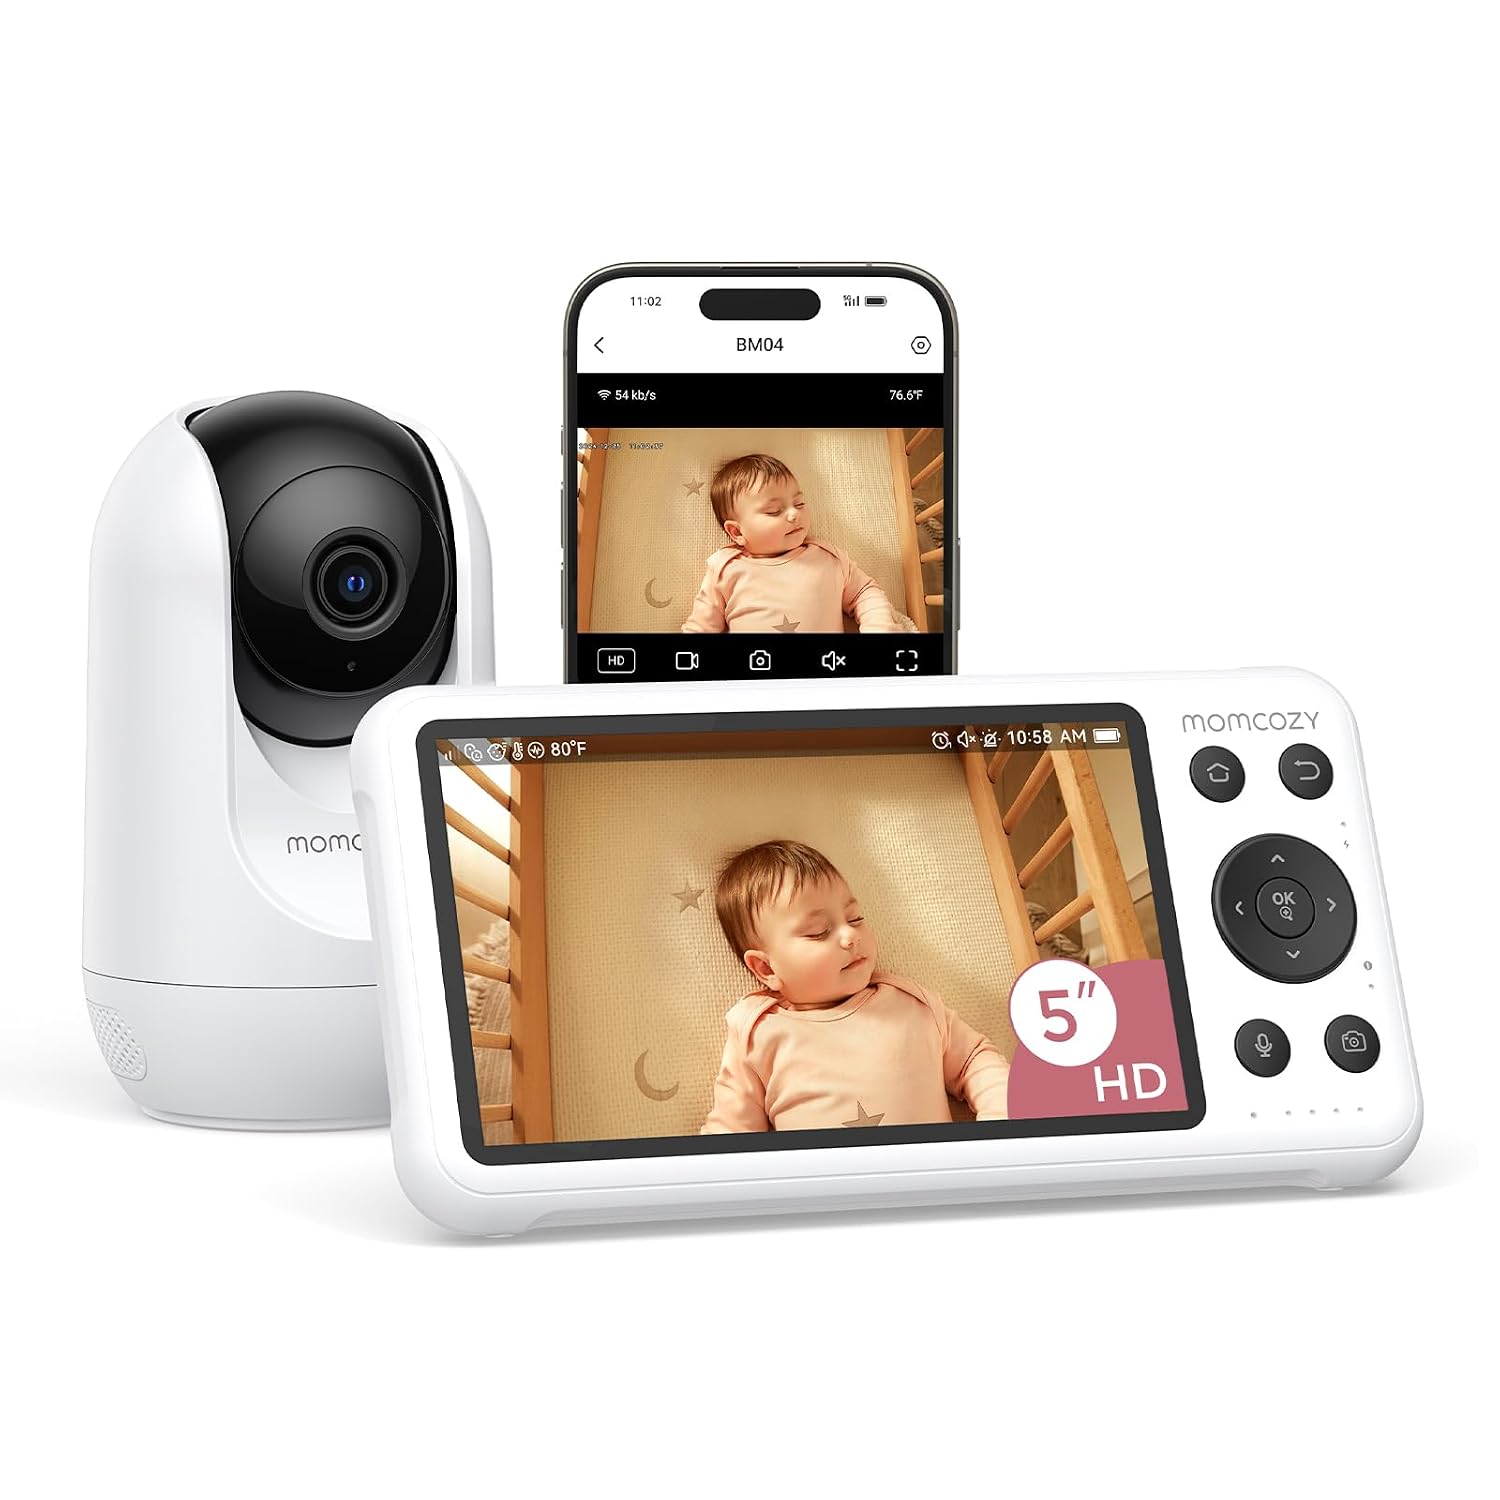
Upgrade pick: Momcozy Smart WiFi Baby Monitor with Camera and Audio,5" 1080P & Wall Mount
 Visit on Amazon →
The Momcozy brings a 1080p camera, a 5 inch display, and a wall mount in the box, which saves a separate hardware purchase and one trip up a ladder. Wi-Fi is the point: the feed reaches your phone, so you can watch a nap from the backyard or from the office on a slow afternoon. That is genuinely useful during the day, and it is the reason this one sits above the local RF unit.
It is also the monitor that asks the most of your network. Put it on the 2.4 GHz band if your router splits bands, keep it off the guest network, and accept that a router hiccup is now a monitor hiccup. The included wall mount makes placement easier, because you can put the camera exactly where the crib view is best instead of hunting for a shelf that happens to face the right way.
Flaws but not dealbreakers: Anything that routes through your phone also routes through your router, your internet provider, and an app account. Set a strong password on day one and turn on two-factor authentication if the app offers it.
The actual setup workflow
Now the part you came for. This works on either monitor above, and it takes one evening.
Step one: Choose the wall, not the crib. Walk into the nursery and find the spot that sees the whole mattress, not just the middle. You want the camera off to the side and above the crib rail, angled down. Mounting straight above the crib looks tidy and gives you a view of the top of a head.
Step two: Get the height right. Mount the camera high enough that a standing toddler cannot reach it and low enough that the angle down still shows the mattress. Five to six feet is the usual sweet spot. Once it is up, look at the parent unit and confirm you can see all four corners of the mattress and the floor beside the crib. If the corners are cut off, you will miss the one night your baby rolls into them.
Step three: Kill the cord risk before you plug anything in. This is the safety step, not the tidiness step. No cord should be within reach of the crib. Run the cable behind the drywall, through surface conduit, or inside a cord cover that a small hand cannot pull open. The AAP is blunt about this and so am I. A monitor cord is a strangulation risk, and a wall mount plus a covered cable removes it.
Step four: Run the pitch-dark check. Wait until night, close the curtains, turn off every light, and put your phone face down. Look at the parent unit. If you cannot count the crib slats and see the rise and fall of your baby's chest, the night vision is not usable, and no brightness setting will rescue it. This is the test that separates a monitor from a radio.
Step five: Run the kitchen range test. Walk to the farthest point in the house where you will realistically be at night, with the microwave running and the router doing its thing. Listen for the audio and watch for the picture holding steady. If the feed drops in the kitchen, move the camera or add a mesh node before the baby ever sleeps in that room.
Step six: Set the volume and skip the cry detection. Cry detection is marketing. A monitor that tells you your baby is crying when you can already hear them has added nothing to your night. Set the volume where you can hear a real cry through a closed door, and turn the notifications off so your phone is not buzzing at every diaper shift.
Step seven: Decide local RF or Wi-Fi before you drill. This determines whether you also need to fix your network. Local RF means the camera and screen find each other and nothing else is involved. Wi-Fi means you should test the signal in the nursery before you mount anything, because a camera on a weak band is a camera that freezes.
Step eight: Do one full overnight trial. Sleep in your own bed with the monitor on, one night before the baby sleeps in that room. You will learn where the dead spots are, how loud the audio really is, and whether the parent unit battery makes it to morning. Better to learn it on a quiet Tuesday than on the first night home.
When the Wi-Fi drops, and other caveats
A Wi-Fi monitor is only as reliable as the router under it. When the internet goes out, the app feed can go with it, which is why I still want a local link or a clear audio path in the house. Power outages are the other one. A battery-powered parent unit keeps working when the house goes dark, and a camera that needs wall power does not.
Battery life is the quiet failure of every monitor. The screen is the hungry part, so if your parent unit dies before dawn, drop the brightness and turn the display off between checks. You will hear a real cry without staring at a screen all night.
Finally, watch for subscriptions. If a feature you need, like recorded clips or sleep history, sits behind a monthly fee, you are renting peace of mind instead of owning it. Read the app store page before you mount anything.
The competition and why it lost
The monitors I left out fall into predictable groups. Audio-only units are fine for a hallway and useless at 2 a.m., because the whole point of a monitor is seeing your baby without opening a door. Cloud-only cameras with no dedicated parent unit are convenient during the day and fragile at night, since every check runs through a phone, an app, and a router.
Subscription-gated units lost for the simplest reason: you should not pay monthly to see your own child. And the cheapest cameras on the shelf lost on night vision, which is the one spec that cannot be faked. If a unit cannot show you a dark room, it does not matter how sharp it looks at noon.
What this all costs
The local RF unit sits at the lower end of the range, and the Wi-Fi unit with the app and the wall mount sits above it. Both are one-time purchases, which is the number that actually matters, because the setup itself is free and takes an evening.
The hidden cost is the subscription, and it is the one to check before you buy. Add in the wall mount if it is not in the box, plus a cord cover, and you have the whole budget. Compare that to what a monitor that cannot see in the dark costs you in sleep, and the math stops being close.
The setup is the easy part. Pick the wall, mount it high, cover the cord, run the dark check, walk to the kitchen, and sleep one night with it before your baby does. That is the whole job, and it is the difference between a camera pointed at a crib and a monitor you trust at 3 a.m.