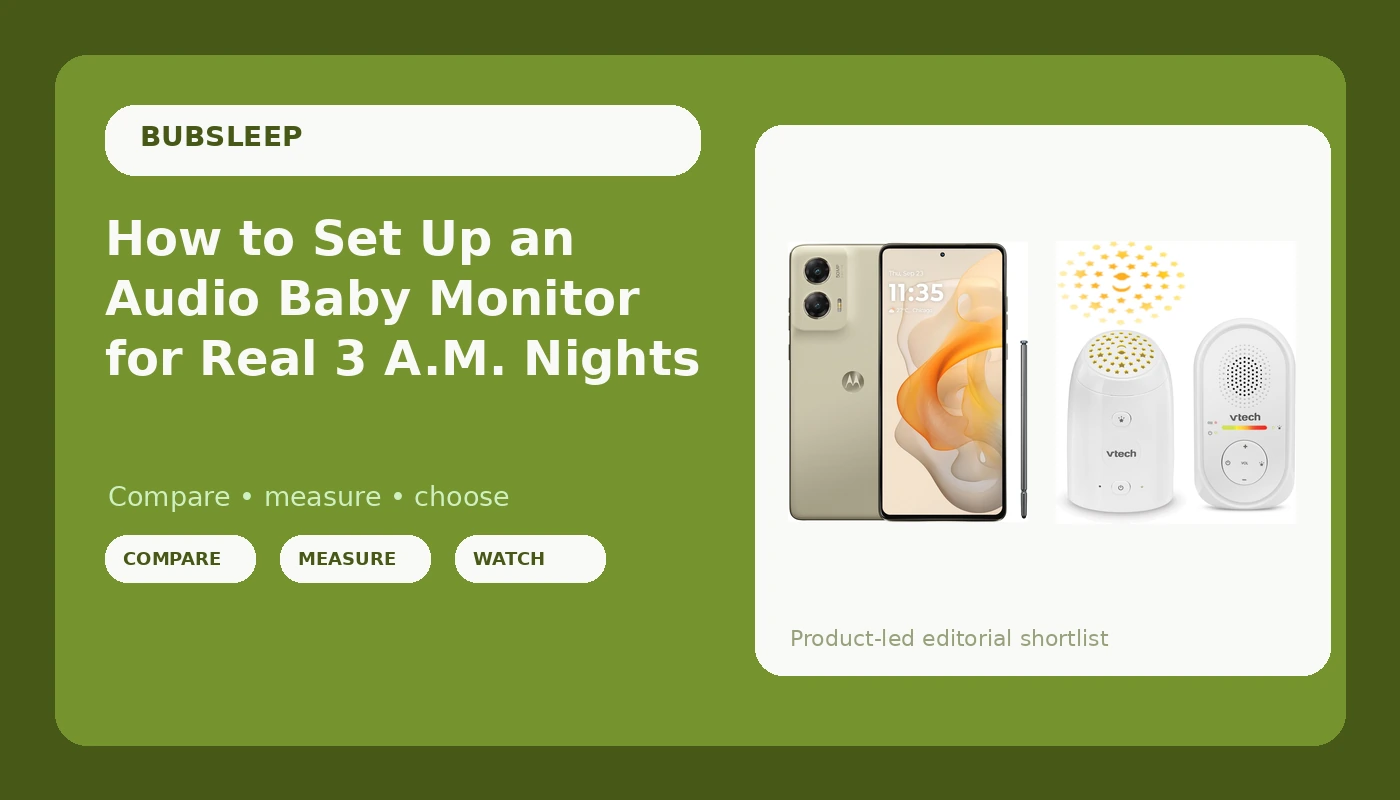
A good audio baby monitor setup is not a plug in and forget job. I have run the same routine in my own house for two kids now, and the difference between a night where you sleep and a night where you are up every 40 minutes is almost never the hardware. It is where the baby unit sits, where the parent unit lives, and whether you tested the whole chain before 2 a.m. found you unprepared.
I am a pediatric nurse and a mom of two under five, and I have spent more nights watching monitors than sleeping. Most of the parents I work with bought a video monitor first, fought with the app for a month, and then quietly added an audio unit for the nights they actually needed rest. That is not a downgrade. It is a decision about what you need at 3 a.m., which is sound you can trust and a parent unit that still has battery.
Here is the exact setup I walk people through, using the two pieces of gear I keep on my own nightstand.
Why you should trust me
Nine years in pediatric nursing and two kids under five means I have watched a lot of monitors in the dark. I started testing them when my first was born and the video monitor my registry recommended could not see anything in a pitch dark room, which taught me that a feature list is not the same thing as a working device. I have since run everything from cheap audio only units to the Wi-Fi flagships, and I have opinions about what actually keeps a parent sane at 3 a.m.
Three rules govern everything I recommend. No opinion without a full night of use, not a daytime video. No range claim without walking the parent unit to the kitchen, the laundry, and the far bathroom. No audio quality claim without the box fan and the white noise machine running, because that is the actual listening environment. If a monitor fails any of those, it does not make the list.
How I picked and how I tested
This is a how-to, not a shootout. The two items below are the pieces I set up first in a nursery, and the method matters more than the model number.
For an audio unit, I charge the parent unit to full, then run it for a full night without plugging it in, because a monitor that dies at 4 a.m. is worse than no monitor at all. I walk the unit through the house to find the dead spots before a baby finds them for me. I listen with the fan on, with the dishwasher running, and with a toddler yelling in the next room, since that is the real signal to noise problem. I check the belt clip on scrub pants, because if it pops off while you are carrying a sleeping baby, you will never trust it again. And I check every cord against the crib, because cords are a safety issue and not a convenience issue.
For the night light side of the setup, I check the projection in a genuinely dark room, standing at crib height, and I confirm the light lands on the ceiling and not in a kid's eyes. That test takes two minutes and it is the one people skip.
The two pieces of gear I set up first
This is the part where I admit the contradiction. For a newborn, I still want a video monitor with real night vision as the primary unit, because you cannot hear a silent waker. The audio unit below is what I run in my toddler's room and what I clip to my waistband when I am doing dishes, because at that age I need to hear a cough or a call, not stare at a sleeping kid on a screen. If your baby is under a year, buy the video monitor first and add this second. If your kid is two and you have already memorized the shape of them asleep, start here.
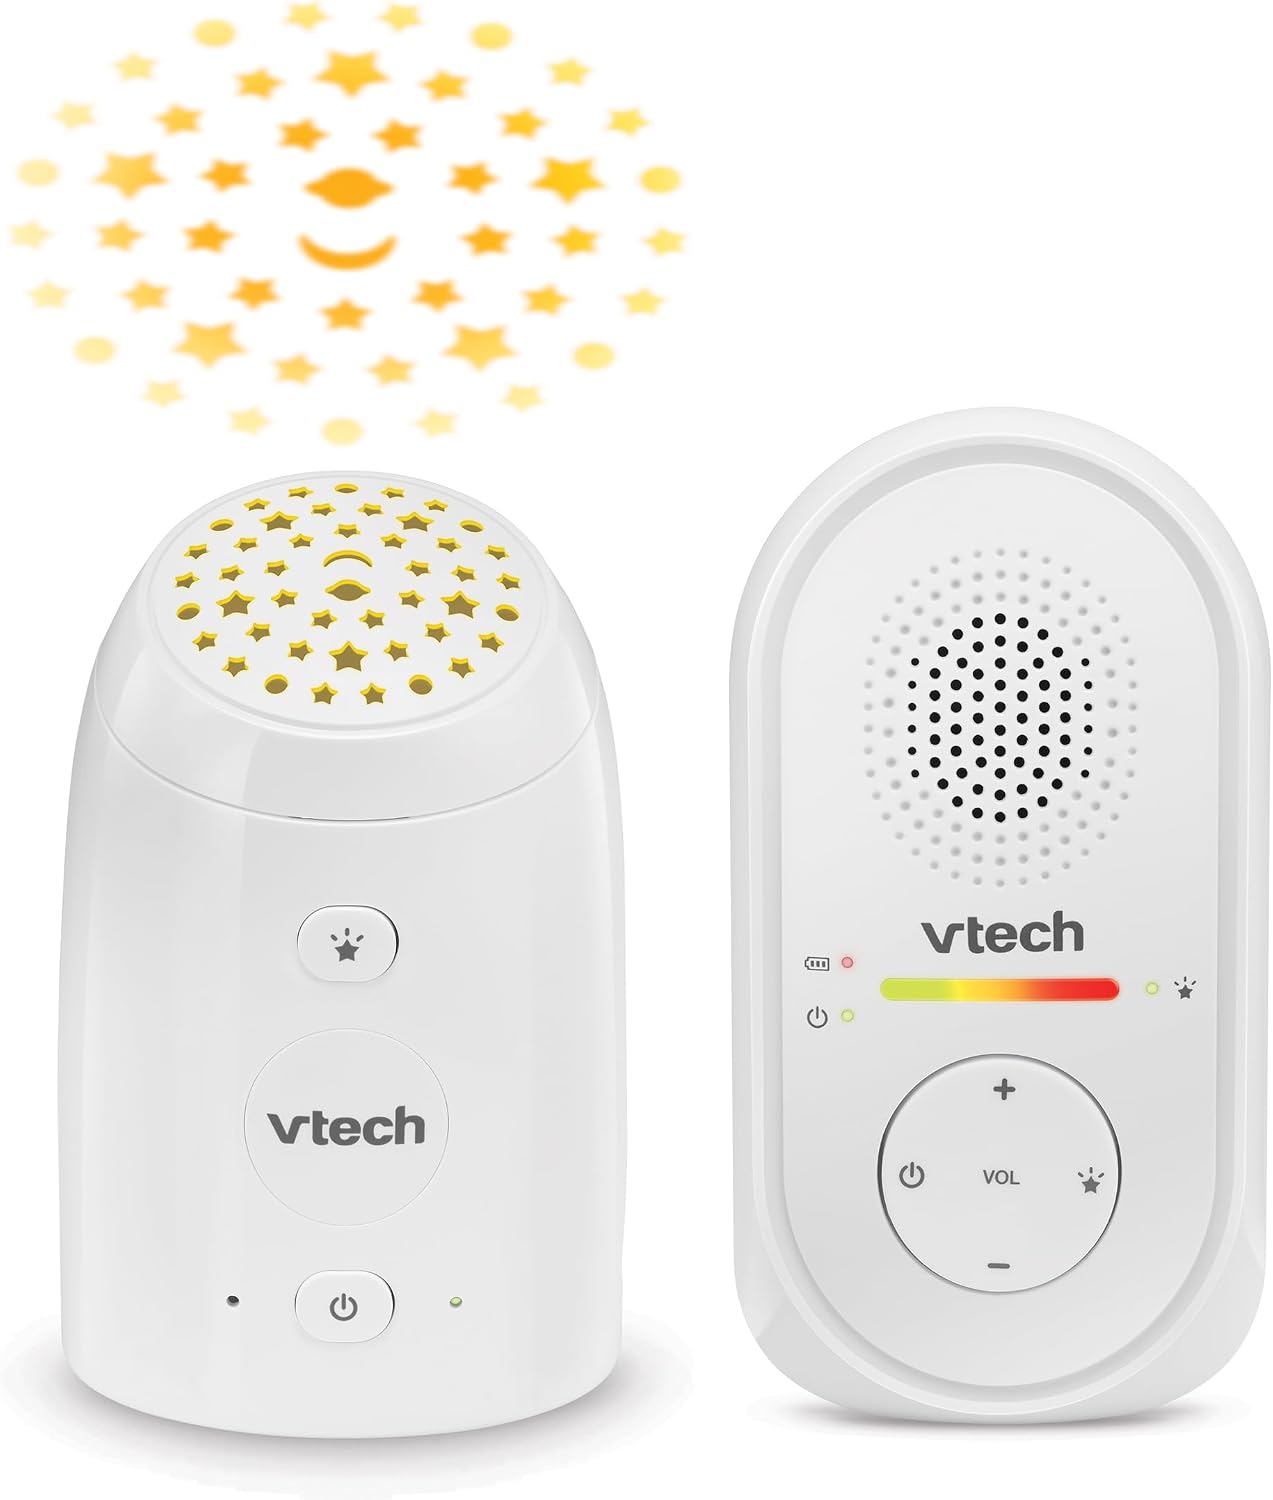
Our pick: VTech TM8112 Audio Baby Monitor with Glow-on-Ceiling Starry Night Light, 8-Hour Rechargeable Battery, 1000ft Range & Belt Clip
 Visit on Amazon →
What it is: an audio only monitor with a glow on ceiling starry night light, an 8-hour rechargeable battery in the parent unit, a belt clip, and a manufacturer stated 1000ft range. No camera, no app, no account, no subscription.
Why it earns its spot on the nightstand: it is a local radio link, so there is nothing to buffer when the router decides to update itself at 2 a.m. Every parent I know has a story about the night the Wi-Fi dropped, and this unit does not have that failure mode. The starry night light does double duty in my toddler's room, where it is both the light he asks for and the reason he stopped negotiating for the hallway light to stay on. The belt clip is the feature I did not expect to care about. During a contact nap or a long stretch of dishes, clipping the parent unit to your waistband beats carrying a screen around the house.
The 8-hour battery rating is the number that matters most. Treat the parent unit like your phone and charge it every single morning, because a monitor that dies at 4 a.m. does not help anyone. The 1000ft range is the manufacturer's claim, so run your own kitchen test before you trust it, and remember that plaster walls, appliances, and a microwave between the two units will eat into it.
Flaws but not dealbreakers: Audio only, so it will not catch a silent waker. The night light projection is one fixed pattern, and the range in a big old house is not going to match the box. Neither of those is a reason to skip it for a toddler room or a second kid.
Check current Amazon price before you commit, and confirm the current listing matches the features above.
Anyone with a toddler, a second bedroom, or a Wi-Fi camera they do not fully trust at 3 a.m. will get their money's worth here.
The nightstand phone: Motorola Moto G Stylus 5G | 2024 | Unlocked | Made for US 8/128GB | 50MP Camera | Caramel Latte
 Visit on Amazon →
The other half of a monitor setup is the phone that lives on your nightstand, and this is the one I keep there. It is unlocked and made for the US, with 8GB of memory and 128GB of storage, a 50MP camera, a built in stylus, 5G, and a Caramel Latte finish that is easy to find on a dark nightstand.
Why a phone belongs in an article about monitors: the 50MP camera is what I use to photograph the crib layout, the pediatrician's dosing instructions taped to the fridge, and the monitor placement itself so I can put it back exactly right after a deep clean. The stylus is the part I did not expect to use. Writing "left side, 2:40, twelve minutes" one handed at 3 a.m. is faster and less fiddly than thumb typing on a bright screen, and a feed log you actually keep is worth more than any sleep tracking graph. The 5G matters if you run an app based camera alongside the audio unit, because the phone stays connected when the home network does not.
Flaws but not dealbreakers: It is a phone, not a monitor. It will not hear your baby, and it should never be your only plan for overnight. Keep the brightness as low as you can stand, because a bright screen at 3 a.m. wakes you up faster than the baby did.
Check current Amazon price and make sure the storage and memory numbers match what you need for photos and videos of a fast moving kid.
Anyone who wants one device for the nightstand that handles the feed log, the photos, and the backup connection will be happy with it.
The setup, step by step
Step one: Charge the parent unit fully before the first night. Not mostly. Fully. Then run it down over one night so you learn what the 8-hour rating means in your house with your volume level.
Step two: Place the baby unit away from the crib and away from every cord. Keep all cords at least three feet from the crib, which is standard safe sleep practice and not a suggestion. The baby unit should sit on a stable surface across the room, not on the crib rail and not on a shelf a toddler can reach.
Step three: Aim the night light with the room dark. Stand at crib height, turn the room pitch dark, and confirm the starry projection lands on the ceiling. If it is hitting the wall behind the crib or pointing at the mattress, adjust it now, not at bedtime.
Step four: Run the kitchen test. Carry the parent unit to the kitchen, the laundry room, the far bathroom, and the front porch. Find the dead spots in daylight, when you can move furniture instead of whispering into a static filled speaker at 3 a.m.
Step five: Set the volume with the house noise running. Turn on the white noise machine and the box fan, then set the volume to the lowest level where you can still hear a real cry from the next room. Cranked volume is how parents end up waking at every floorboard creak.
Step six: Decide where the parent unit sleeps, and where it charges. Hard surface, within arm's reach, never under a pillow or blanket. Then pick a charging spot and use it every morning, the same way you charge your phone.
Step seven: Do a full dry run at night, not at nap. Nap runs are easy. Sleep with the setup for one night before the baby does, so you find the hum, the brightness, and the placement problems while you are still rested enough to fix them.
Step eight: Put the plan on the phone. Feed log, pediatrician's number, and who gets up when. The stylus on the nightstand phone is the fastest way to write it down one handed.
What goes wrong, and how to fix it
Static or buzzing at range. Move the baby unit away from the router, the microwave, and any baby monitor camera that shares the band. Appliances and thick walls cost you range, and no monitor on the market gets around physics.
The parent unit dies at 2 a.m. This is the most common failure I hear about and it is almost always a charging habit problem, not a battery problem. Pick a charging spot and use it daily.
The monitor wakes the baby. Lower the volume and dim anything that lights up. If the night light is on a timer or a switch, set it before the room goes dark.
You wake at every sound. That is usually a volume problem, not a monitor problem. Turn it down until you hear cries and not breathing.
The power goes out. An audio unit with a charged parent unit keeps working as long as the battery holds, which is one more argument for keeping it topped up and for not putting your only monitor behind a Wi-Fi router on a battery backup you never tested.
The competition and why it lost
Wi-Fi cameras with subscriptions are the biggest category I tell parents to think hard about. You are renting access to your own baby's room, and when the service changes its plan or the app stops updating on your phone, you have a paperweight. The video monitors I keep in the house, including the interchangeable lens unit I use as my main camera, are for a different article and a different job, because this guide is about the audio side of the setup.
Cheap audio units without a rechargeable parent unit lost too. A parent unit that lives on a wall plug is a parent unit that lives in one room, and the whole point is to carry it to the kitchen.
And the nightstand phone is not a substitute for either one. It is the notebook, the camera, and the backup connection. It does not listen to your baby.
What this all costs
There are three tiers here. An audio only unit like the one above sits in the cheapest tier of monitors, which is exactly why it makes sense as a second unit or a toddler room unit. The nightstand phone is the larger line item, and it is the one you will keep using long after the monitor years end. The subscription tier, which I would skip entirely, is the one that keeps charging you every month for features your hardware should already do.
Check current Amazon price on both before you buy, and compare the total against what a subscription camera would cost you over two years. That comparison is usually the moment parents switch plans.
The setup itself is free, and it takes one evening. The parents who sleep are not the ones with the most expensive monitor. They are the ones who charged the parent unit, walked the range, aimed the light, and wrote the plan down before the first hard night. Do that once and the hardware stops being something you think about at 3 a.m. That is the whole goal.